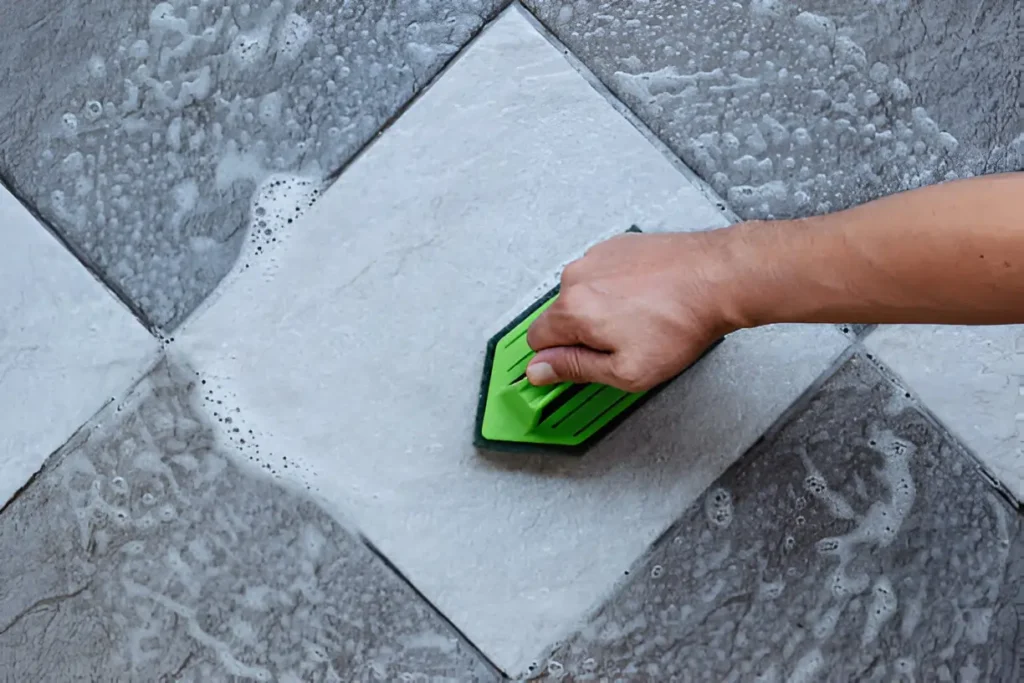
Struggling with stubborn dirt and grime on hard surfaces like driveways, patios, or tiles? This guide provides step-by-step methods to effectively clean concrete, stone, and other materials, helping you restore your spaces to their original shine.
Understanding the Grime
Hard surfaces can accumulate so many different types of debris:
● Mud and silt from shoes, pets, or rainwater runoff
● Grease and oil in the kitchen or garage
● Algae, moss, and mold in damp, shaded areas
● Mineral deposits from hard water
Each of these requires a slightly different approach, but with the right strategy, you can handle them all.
Step 1 Identify your Surface
Not all hard surfaces are created equal. Before choosing your cleaning method, determine what you’re working with:
● Porous materials such as concrete and natural stone may absorb liquids and require deeper cleaning.
● Non-porous tiles or sealed surfaces are usually easier to clean but can still trap grime in grout lines or textured finishes.
Check for any sealant or finishing layer as certain chemicals can damage or discolor treated surfaces.
Step 2 Sweep Away Loose Debris
There’s no point layering on cleaners until you’ve removed as much surface dirt as possible. Use a stiff bristled broom or brush to sweep away:
● Dust, sand, and loose dirt
● Leaves and organic matter
● Small stones or debris
For outdoor areas, a leaf blower can cut this step in half. Indoors, a vacuum with a hard floor attachment works wonders.
Step 3 Pre-Treat Stains and Buildup
Pay attention to greasy patches, old stains, or algae spots. Here’s what works best:
● Grease/oil spots Sprinkle a generous layer of baking soda or cornstarch onto the stain. Allow it to absorb the oil for 15-30 minutes before scrubbing.
● Organic stains (moss, algae, mildew) Apply a solution of equal parts white vinegar and water. Let it sit for 20 minutes, then scrub with a brush.
● Rust or mineral stains Commercial rust removers work, but for a homemade solution, try making a paste of lemon juice and baking soda. Spread it over the stain and leave it for at least 30 minutes.
You can apply several of these at once to different areas as you work.
Step 4 Choose the Right Cleaner
There’s no universal solution for all hard surfaces, but here are some effective options:
● pH-neutral floor cleaners Safe for most tile and sealed surfaces, remove general dirt without damaging the finish.
● Ammonia-based cleaners Great for greasy kitchens or garage floors (never mix with bleach).
● Oxygenated cleaners Good for outdoor patios, concrete, and pavers; they help lift deep-seated dirt.
● Specialty cleaners For stone, always check the label to ensure compatibility.
Mix your chosen cleaner according to the package directions, and always test a small hidden area first.
Step 5 Start Scrubbing
Use the right tool for the job:
● Stiff-bristle brush Best for concrete, brick, or stone surfaces.
● Nylon scrub brush Gentle enough for tile and delicate surfaces.
● Toothbrush Perfect for grout lines or tight corners.
Apply your cleaner and work in small sections. For tough spots, allow the solution to sit for several minutes before scrubbing. If you’re dealing with large outdoor areas, consider using a steam pressure washer for a deep and efficient clean (just be careful on softer or older surfaces, as too much pressure can cause damage).
Step 6 Rinse Thoroughly
Residue from cleaners can attract more dirt if left behind. Rinse your surfaces with clean water:
● Indoors, mop with clean water or use a wet vac.
● Outdoors, use a hose with decent pressure or buckets of water.
Repeat any steps as needed for stubborn stains.
Step 7 Finishing Touches and Maintenance
Once you’ve removed the buildup, consider how to keep your surfaces looking great:
● For porous surfaces like concrete and natural stone, apply a sealant once fully dry. This creates a barrier against future stains and grime.
● Regularly sweep and clean surfaces to prevent dirt from settling in.
● For kitchens and garages, use mats to catch grease and oil before they hit the floor.
● Treat spots as soon as you notice them to prevent stains from setting in.
DIY Tips for Persistent Problems
Some spots take extra persistence. If a stain won’t budge:
● Apply your cleaning solution and cover the area with plastic wrap to keep it saturated longer.
● Gently heat the spot (with a hairdryer, not an open flame) to help lift oils or sticky substances.
● For white spots or clouding on stone, use stone-specific poultices available at hardware stores.
Conclusion
Removing stubborn dirt and grime from hard surfaces is all about choosing the right approach for each challenge. With patience, the right tools, and a little elbow grease, you can restore nearly any hard surface to its original shine. And when you’re finished, your space will look cleaner, feel fresher, and be easier to maintain day after day.
The Ultimate Checklist for Seasonal Home Maintenance
Your Guide to Healthy Aging for Skin, Diet, and Teeth
